SLIMESHOP is dropping September 8 and today I’m giving YOU access to be one of the first people in the world to try the SLIMESHOP demo tool!
PLEASE KEEP THIS LINK ON THE DL! :) THANKS!
SLIMESHOP STEP BY STEP GUIDE:
Step 1:
Connect to a wallet using Rinkby.
In order to use the SLIMESHOP DEMO, you must be connected to Rinkby Test Network. If this is new to you, you can simply change networks by clicking “Ethereum Main Net” at the top of your Metamask interface. A negligible amount of Rinkby ETH is required to mint on test net. If you do not have RinkbyETH, I will be happy to provide you some. Please reach out to me directly on twitter @slimesunday.
Step 2:
Press “New” > “Mint a Pack” , and confirm transaction. Once transaction is successful, x out of that pop-up window.
Step 3:
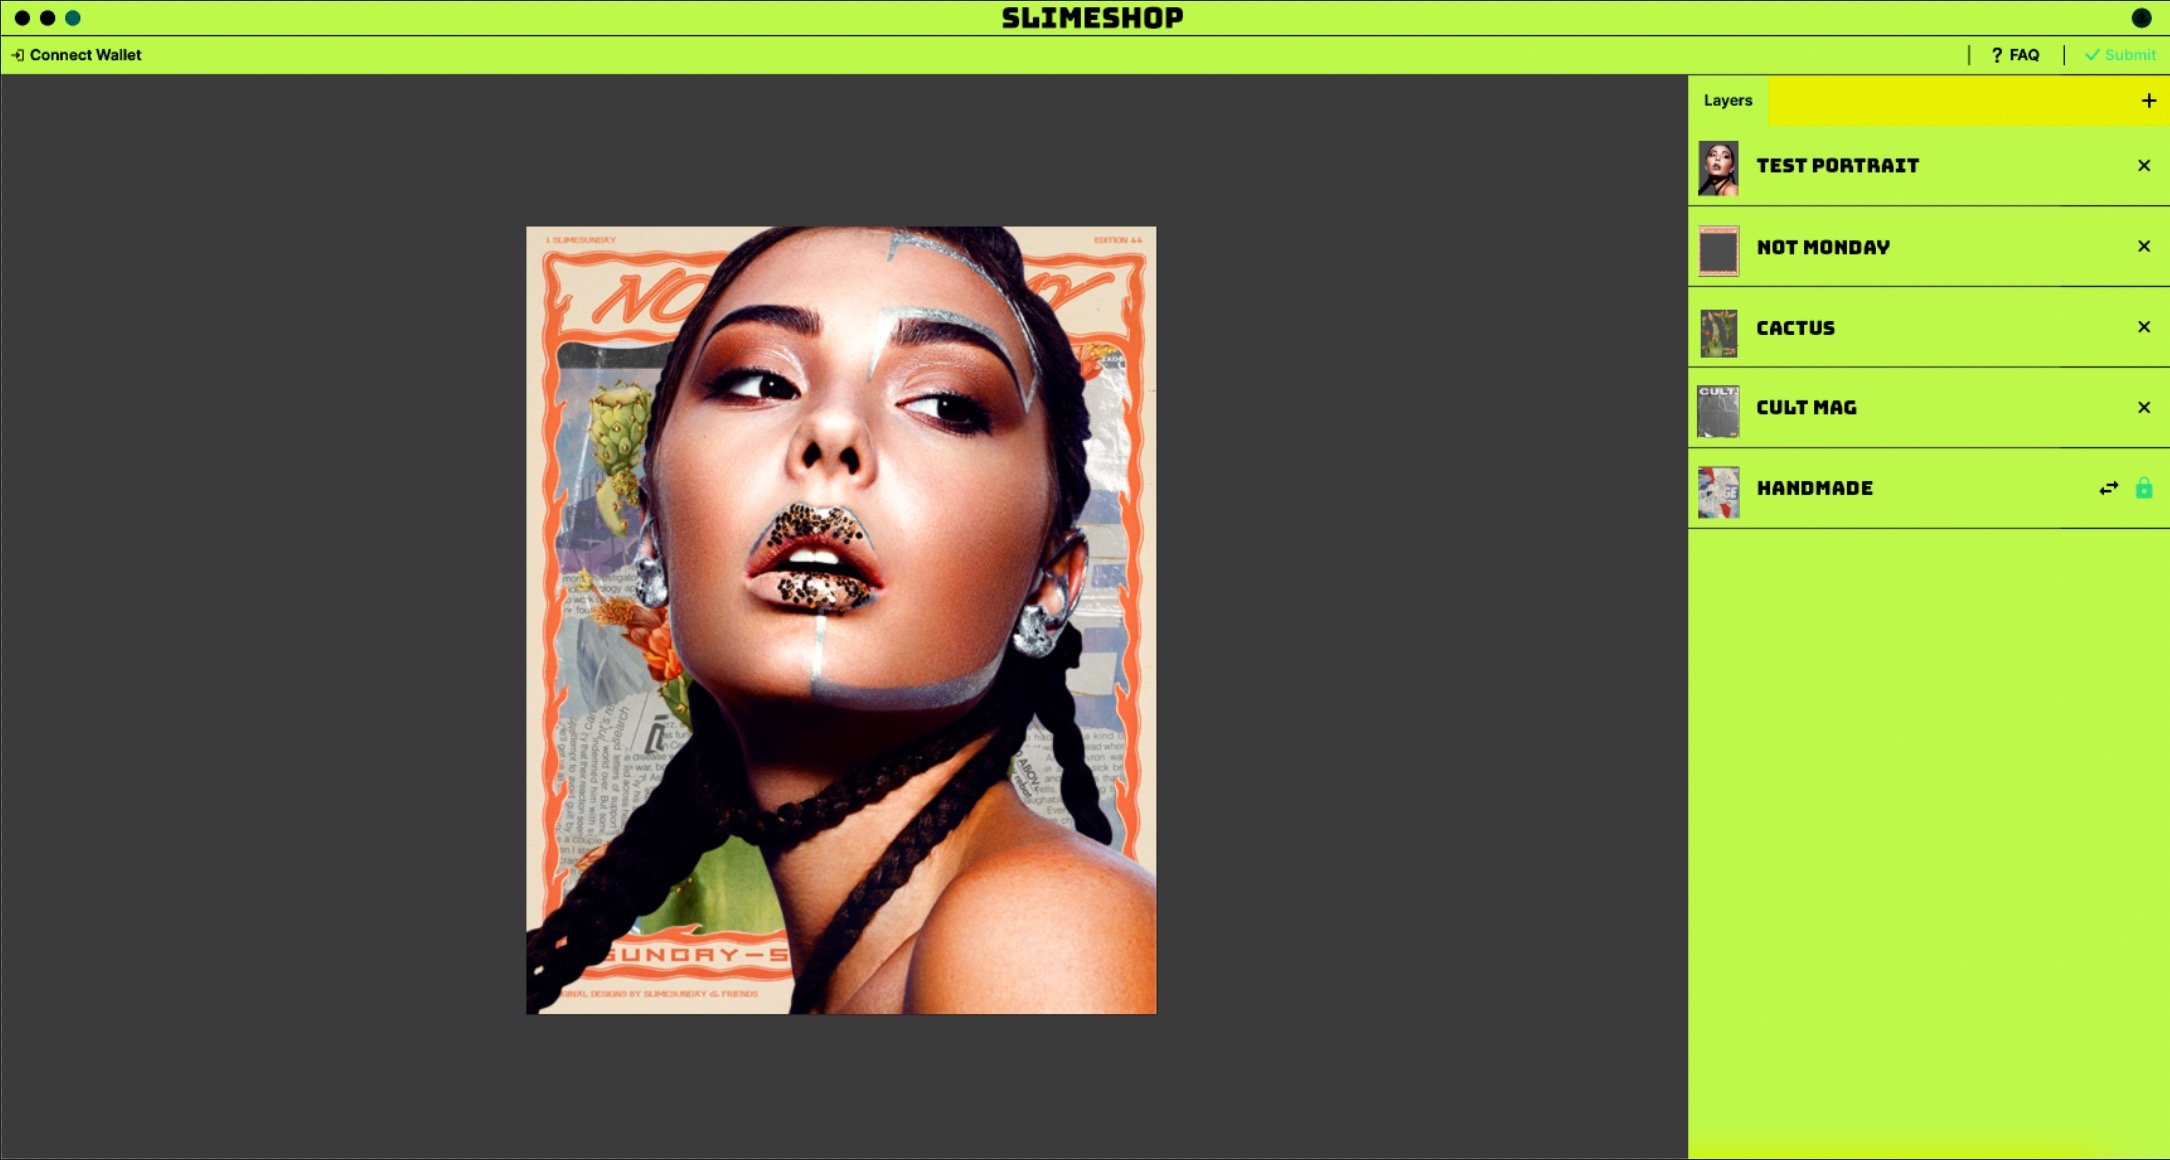
All 7 layers from your Pack will fulfill on right side of screen. You can now move, stack, and turn layers on/off anyway you wish. Indecisive? Press shuffle!
Step 4:
Here comes the fun part, craving more layers and options? Mint another pack by pressing new, and following steps 1 and 2, then refresh your page, and all layers will be available. You can find all layers by clicking “add a layer”. As a reminder, you can only use 1 Portrait and 1 Background, but use as many elements and textures as you’d like!
Step 5:
Ready to show your collage to the world? Press “Bind”